
Masters Project - Week 01 / 21st - 28th May.
- Jun 1, 2018
- 6 min read
Week Hour Breakdown: Tuesday - May 22nd - Two Hours - Hack'N'Plan Setup
Wednesday - May 23rd - Six Hours & Thirty Minutes - Scene Setup / Layout.
Thursday - May 24th - One Hour - Layout / Two Hours & Ten Minutes - Piston Lift Asset / Two Hours & Thirty Minutes - Cog Asset.
Friday - May 25th - Four Hours - Small & Medium Cog Asset, Cog Animation Test, Polycount Baking & Normal Map Research. (3:00pm - 11:30pm - Subway Evening Shift)
Saturday - May 26th - Three Hours - Researching / Testing Normal Map Techniques / Twenty Minutes - Forum Discussion. (3:00pm - 11:30pm - Subway evening shift)
Sunday - May 27th - One Hour & Forty Five Minutes - Polycount Feedback, Perforated Metal Cylinder Asset. (3:00pm - 11:30pm - Subway evening shift)
Monday - May 28th - Day Off / Bank Holiday.
Total time spent this week - 22 Hours and 55 minutes.
Overview:
This week was mainly spent setting up the Hack'n'Plan page, along with editing the original environment design I had so that I could better solidify the layout and type of assets involved with the creation of the environment. The week consisted of me creating rough asset forms to better push the design of the environment, but also more specifically testing what kind of approach I would take when creating assets. I specifically spent some time testing baking results with a simple gear mesh, and went online to Polycount for some assistance / feedback.
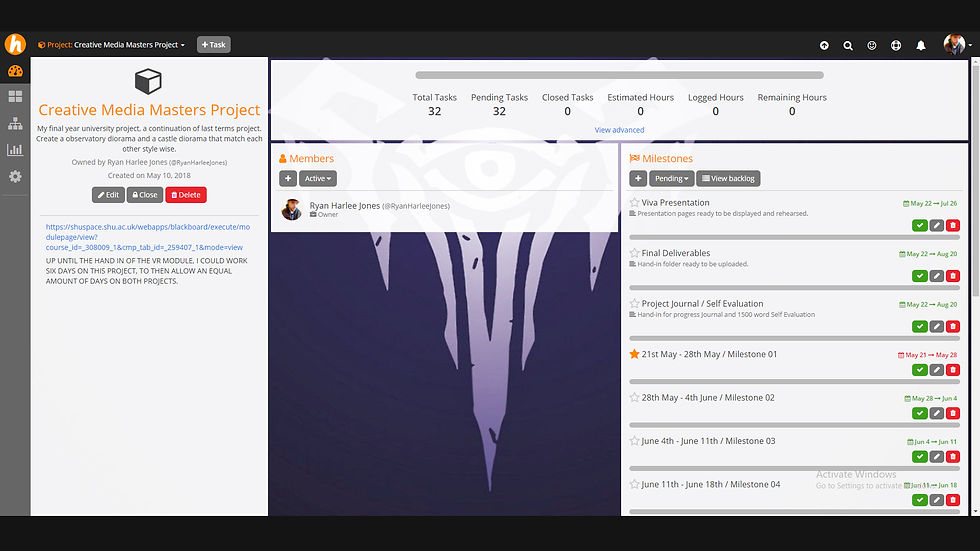
Fig 01. Hack'N'Plan Front Page (Jones, 2018)
Tuesday / Wednesday:
Both of these days were treated as project set up days. The Tuesday was spent creating the Hack'N'Plan projects boards for both of my current projects. Considering that it was at the start of the task, I made sure to gather the information for the marking criteria and place individual deadline milestones with specific tasks in both boards. These included both portions of the hand-in, and also the viva midway through the project. These were created so that I could consistently have that information at hand, but mainly so it would force me to go through the marking criteria so that I would understand what needed to be done by the hand-in date. Multiple weekly milestones were also set up, although these were empty, they were set up so that I understood how many weeks left I had, and so that once I understood more of what would be needed to accomplish my project, like the type of assets involved, I could fill them out as soon as possible.

Fig 02. Prior Scene Blockout (Jones, 2018)
The scene layout I had a head start on, the project the term before I had at the start made a blockout for all three environments I originally planned to create. This gave me a good starting point for the second environment I was going to create. I spent the Wednesday solidifying the layout while making sure to take multiple critera into account that I didn't the project before hand until late into the project. Narrative object placement, character pathing if the zone was to be used in gameplay, lighting placement, the use of verticality as well as horizontal placement. This all helped to forge the basic structure of the environment, and aided in understanding what portions would be more cluttered that others. The rest of the day was spent understanding what areas would contain, and which items would lead forward the narrative that the three scenes could tell together.
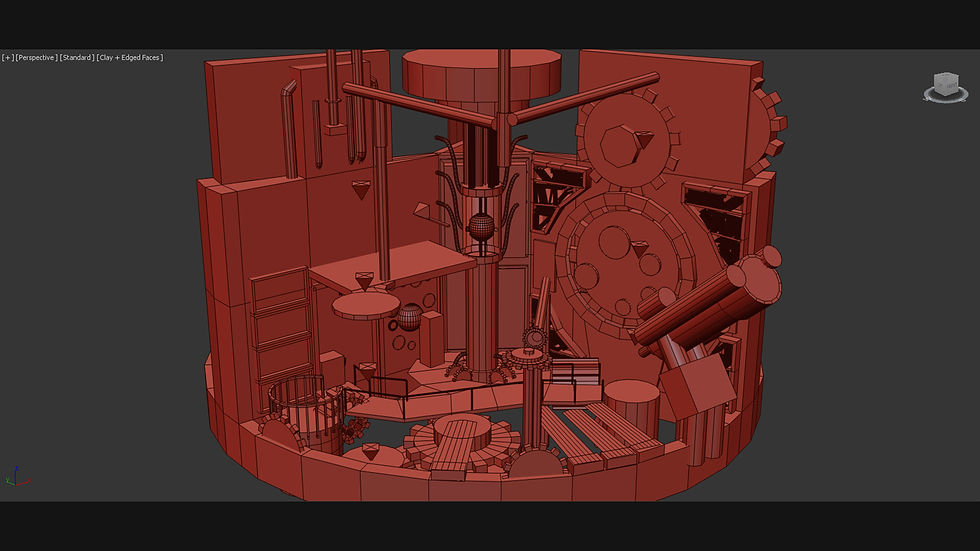
Fig 03. Updated Scene Blockout (Jones, 2018)
Thursday:
On Thursday I began creating some more detailed versions of the assets with the intention of taking one asset through the whole process to understand what kind of process and art style I wanted to focus in on. A giant piston lift asset was the first I began to work into, although so far into the asset I decided to work on an asset that would be quicker to bring through the process, such as one of the gears in the scene. I did some research on different gear types and how many teeth different sized gears usually have to make sure they would animate correctly. This allowed me to start creating the largest gear, which would be used a reference for the medium and smaller versions. The rest of the day after that was spent moving and shifting a few pices in the layout that I felt needed switching because of some of the choices I was making.
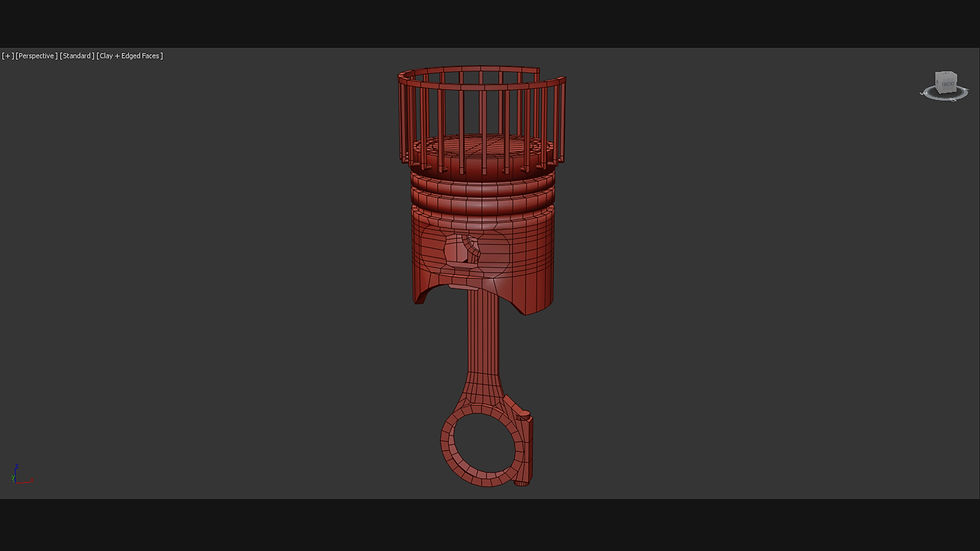
Fig 04. Piston Lift WIP Asset (Jones, 2018)

Fig 05. Large Gear WIP Asset (Jones, 2018)
Friday:
The next day, I decided to create the other two gear sizes so that I could do a quick animation test to make sure that the amount of teeth and the shape of them would realistically look like they would function together. I created a basic rotation animation test in max just to make sure if the three sizes of gear rotated together that they wouldn't rotate out of sync or look unusual. Although after this, I realised that if I approached the environment in the same manner I did the last, that I wouldn't improve as much as I wanted to. So I took a moment to attempt a baking work flow on the gear, as normal map usage was one of the areas I had been advised to make more use of in my prior environment feedback. I spent the evening looking through threads on the website polycount to try and find some generalised consistent information about high to low poly baking efficiently.
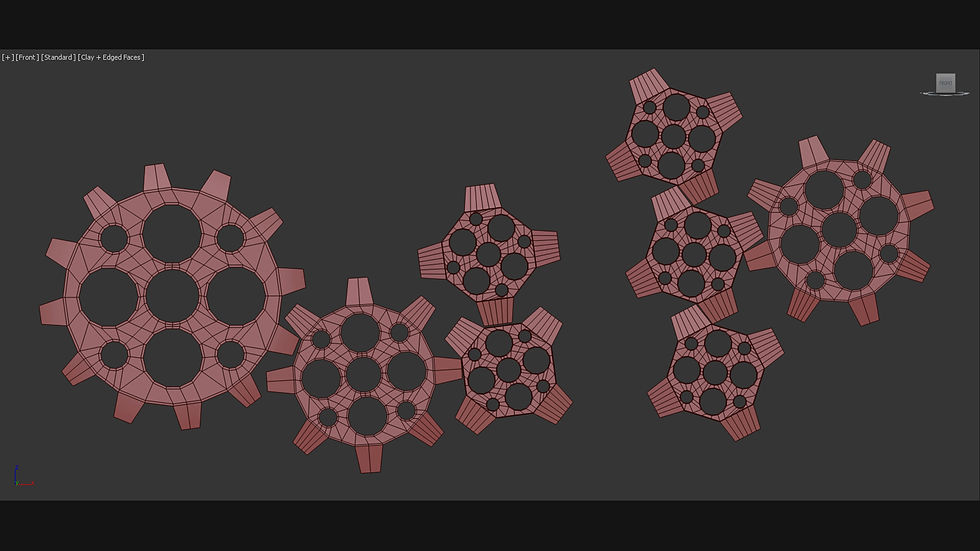
Fig 06. Gear Set Rotation Animation Setup (Jones, 2018)
Saturday: I decided to try and make use of the information I had gathered from polycount the night before, and did two different tests. One test I approached the gear how I assumed to accomplish it, by creating a low poly, and then throwing some edge loops in the areas I wanted to smooth out. My lack of understanding was obvious from the way the bake had multiple skews and patchy edge errors on seams. After one or two other failed attempts, I was getting closer to the result I wanted, but I knew I was missing a lot of vital understanding that I needed to know. I created my own account and set up my own thread asking for some assistance in not just getting the gear to work, but filling in the knowledge gaps that I had. The specific thread which shows some of the older attempts and what was suggested etc, is found here:
http://polycount.com/discussion/201481/high-to-low-poly-baking-im-in-need-of-some-direction#latest
Sunday: By Saturday some helpful individuals on the forum had offered one or two suggestions, but with no avail they mentioned when they had a moment that they would mock up a result for me and explain the process. With this in mind, I decided to continue to flesh out some more specific areas on the environment. This lead to me creating a rough model of a perforated metal sheet cylinder which would act as either a power core or coolant tube. This was created to further take the style of the diorama further and to help me envision if certain portion designs would work together.
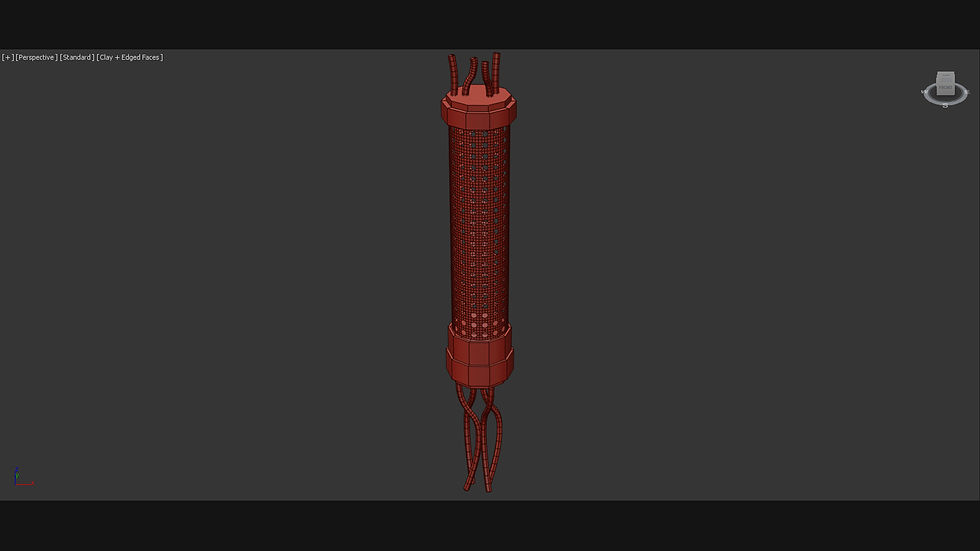
Fig 07. Perforated Metal Cylinder WIP Asset (Jones, 2018)
Monday:
Monday I took the day off, this was because of the fact that the Friday and Saturday evenings I was also working at Subway, my part time job. This meant that those two days I didn't manage to fit as much time in as I would have liked, although I was still working but just in a different respect. I decided to take the Monday off also because it was a bank holiday Monday and the labs were closed.
Overview:
The first week on this project at the start felt very productive, seeing the scene form into something totally different and tangible, made me feel as though progress was moving forward well. Although as the days got later into the week, because of my lack of knowledge I felt as though progress slowed down heavily. Although, I understand that by taking some time out to learn some new processes, I may make the weeks later easier for me to advance with, hopefully I'll see some results in the following week from my research, and that the new techniques I learn will make me work more efficiently and to a high standard.
-RyanHarleeJones


Comments